The Cricut cutting mat is an essential tool for crafters and DIY enthusiasts. Using it correctly can significantly enhance your crafting experience. In this guide, we will explore how to use a Cricut cutting mat effectively, ensuring precision and longevity. Let’s dive in!
1. Understanding Your Cricut Cutting Mat
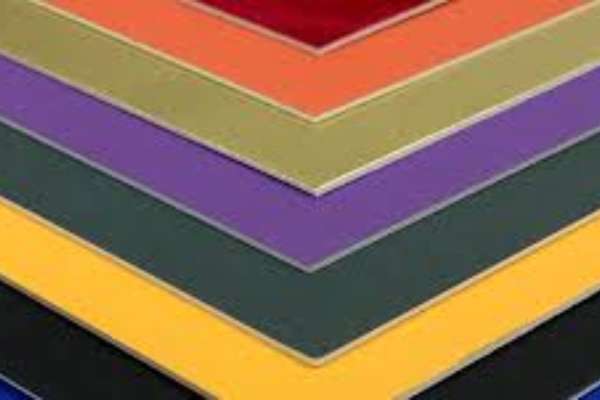
Types of Cricut Cutting Mats
Cricut cutting mats come in various types, each tailored to specific materials. The StandardGrip mat is versatile and ideal for medium-weight materials like cardstock, vinyl, and iron-on. The LightGrip mat is perfect for lightweight materials such as printer paper and vellum. For heavier materials like specialty cardstock, glitter cardstock, and chipboard, the StrongGrip mat provides the necessary hold. Lastly, the FabricGrip mat, combined with the Cricut Rotary Blade, is perfect for cutting fabrics. Understanding these mats ensures you select the right one for your project, optimizing your cutting experience and achieving precise, professional results.
Choosing the Right Mat
Choosing the right mat for your crafting project is essential for achieving the best results. For medium-weight materials such as cardstock and vinyl, the StandardGrip placemat is ideal. When working with lighter materials like printer paper, the LightGrip mat offers the perfect hold. For heavier materials such as chipboard, the StrongGrip placemat provides the necessary stability. If you’re working with fabrics, the FabricGrip mat ensures a secure hold without damaging the material. By selecting the correct mat for your specific material, you can ensure precision and enhance the quality of your projects, boosting your crafting success and satisfaction.
2. Preparing the Mat
Removing the Protective Film

Before using your Cricut cutting mat, carefully remove the protective film. This crucial step preserves the placemat’s adhesive surface, ensuring it stays clean and sticky for optimal performance. Gently peel the film away, starting from one corner and working your way across. Avoid touching the adhesive area to maintain its stickiness. Removing the film correctly enhances the placemat’s longevity and improves your crafting results. Regularly replacing the film after use keeps your mat in top condition, providing consistent cuts and reducing material waste. Proper care of your Cricut cutting placemat maximizes your crafting efficiency and project quality.
Placing the Material
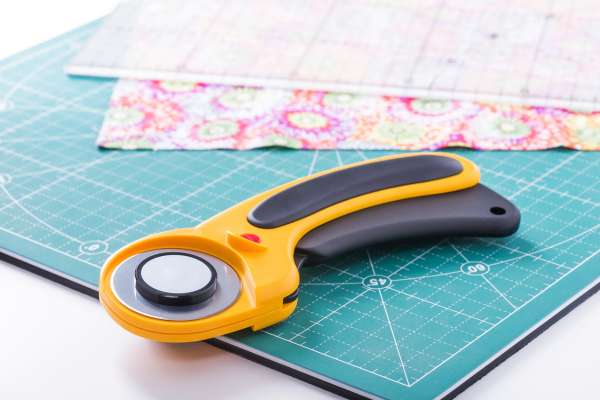
To ensure precise cuts, align your material with the grid lines on the mat. Make sure the material is smooth and free of wrinkles or bubbles. This step is crucial for accuracy. Start by placing one edge of the material along the grid, then gently smooth it outwards to avoid any imperfections. A properly aligned and smooth material guarantees clean cuts and professional results. Whether working with paper, vinyl, or fabric, attention to this detail enhances the quality of your projects. By taking the time to correctly place your material, you improve your chances of achieving perfect cuts every time.
Loading the Mat into the Cricut Machine
Inserting the Mat
To insert the mat into your Cricut machine, begin by aligning it with the guides on the machine. Ensure the placemat is straight and positioned correctly. Once aligned, press the Load/Unload button. This action secures the mat, ensuring it stays in place during cutting. Double-check that the placemat is firmly loaded to avoid any misalignment during the cutting process. Properly inserting the mat helps achieve precise cuts and optimal results. This simple step is crucial for successful projects, contributing to smoother operations and better outcomes with your Cricut machine.
Adjusting Settings
To achieve precise cuts with your Cricut machine, adjusting the settings for the selected material is crucial. Begin by selecting the appropriate material type from the machine’s interface. This action calibrates the blade to apply the correct pressure and depth, tailored specifically for your chosen material. Whether working with vinyl, cardstock, or fabric, accurate settings prevent overcutting or undercutting, ensuring clean edges and intricate details. Regularly check for updates on the Cricut software, as they may introduce new material settings. Properly adjusting the material settings not only enhances project quality but also extends the blade’s lifespan, making your crafting experience smoother and more efficient.
4. Cutting Process
Starting the Cut
To begin cutting with your Cricut machine, press the Start button. As the machine starts, keep an eye on the process to ensure everything runs smoothly. Monitoring the cut allows you to catch any issues early, such as material misalignment or cutting errors. By staying attentive, you can ensure a flawless cut every time, leading to professional-looking projects. This hands-on approach not only improves your crafting skills but also helps in producing high-quality results that can enhance your creative portfolio. Regular monitoring can significantly reduce material waste and improve overall project efficiency.
Removing the Mat
After completing the cutting process, press the Load/Unload button to release the mat from the machine. Gently remove the mat to ensure your design stays intact. To avoid bending or damaging your project, peel the mat away slowly and steadily. Use a spatula or a similar tool to lift delicate areas, if necessary. Properly handling the placemat and your design ensures the highest quality result and prevents unnecessary re-cuts. For best results, store your mat flat when not in use to maintain its effectiveness for future projects.
5. Post-Cut Care
Removing the Material
To remove your cut material, gently peel it away from the mat. This technique helps maintain the integrity of both the material and the mat. If the material is stubborn, use a spatula or scraper tool to lift it off without damaging the adhesive surface. These tools provide a gentle, even lift, preventing any tears or residue. Ensuring your mat stays clean and adhesive-free extends its lifespan and improves future cutting accuracy. By carefully handling the removal process, you preserve the quality of your cuts and keep your crafting tools in top condition.
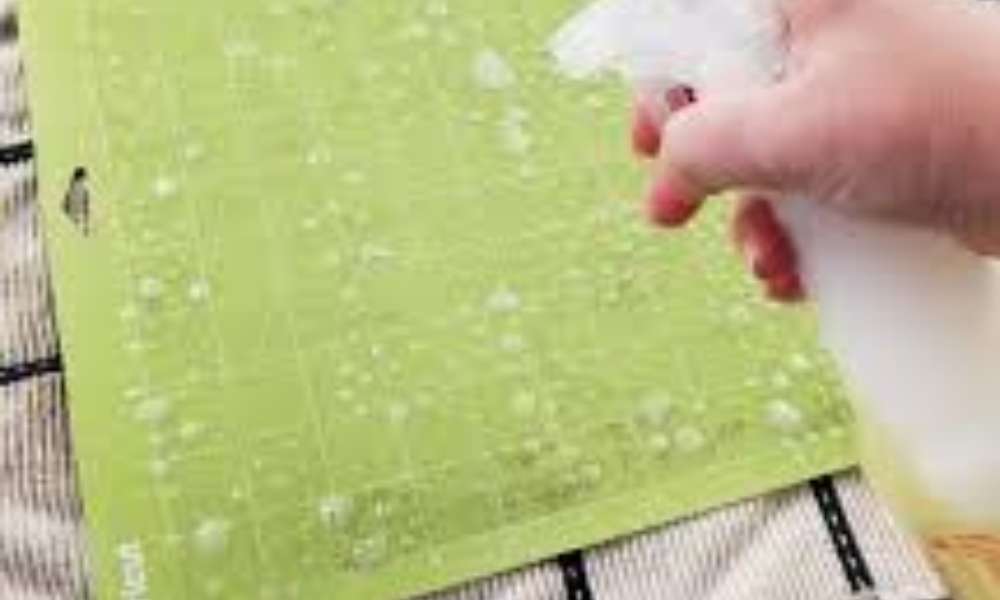
Cleaning the Mat
Maintaining your Cricut cutting mat’s stickiness is crucial for optimal performance. Regularly clean the mat to ensure it remains free from debris and residue. Use a lint roller to pick up loose particles quickly and effectively. For a deeper clean, gently wash the mat with a mild soap solution and a soft cloth. Rinse thoroughly with lukewarm water and let it air dry. This routine not only extends the life of your cutting mat but also improves the precision of your cuts. Keep your Cricut cutting mat in top condition with these simple cleaning steps.
6. Storing the Mat
Reapplying the Protective Film
After each use, reapply the protective film to your mat to ensure its longevity and effectiveness. By doing this, you prevent dust and dirt from accumulating on the adhesive surface, maintaining the mat’s optimal performance. Regularly reapplying the protective film keeps your mat clean and extends its lifespan. It’s a simple step that makes a significant difference in preserving the mat’s quality. Consistent maintenance not only enhances usability but also protects your investment. Ensure you keep the protective film in a clean, accessible place for quick reapplication after each use.
Proper Storage
To ensure the longevity and effectiveness of your Cricut cutting mat, proper storage is essential. Always store the mat flat to prevent any bending or warping, which can compromise its precision. You can also hang the mat using the designated holes, which keeps it flat and ready for use. Avoid folding or rolling the mat, as this can damage its surface and affect its performance. Keeping your cutting mat in a clean, dust-free environment will also help maintain its adhesive quality, ensuring that your crafting projects come out perfectly every time. Proper storage will extend the life of your mat and keep it in top condition.
Troubleshooting Common Issues
Mat Losing Stickiness
If your mat loses stickiness, start by cleaning it thoroughly with mild soap and warm water. Ensure you rinse off all soap residue and let the mat air dry completely. This process helps remove dirt and oils that can reduce stickiness. If the mat remains slippery after cleaning, try reapplying a light coat of adhesive spray designed formats. This quick fix can restore the grip, making your mat feel brand new. Regular maintenance, such as weekly cleaning and occasional adhesive application, can extend the life of your mat and ensure it stays sticky, providing a safe and effective workout surface.
Material Slipping
Ensure your materials stay in place by aligning them accurately and pressing them down firmly on the mat. If slipping continues, consider using a StrongGrip mat, which offers better adhesion for more challenging materials. Alternatively, you can tape the edges of the material to the mat to prevent movement during cutting. This simple step can significantly enhance your crafting experience, ensuring precise cuts and a smoother workflow. By following these tips, you not only improve the quality of your projects also boost your productivity, making your crafting process more efficient and enjoyable.
Extending Mat Life
Rotating the Mat
Regularly rotating your cutting mat is essential for its longevity and consistent performance. By doing so, you distribute wear evenly across the surface, preventing any one area from becoming overly worn or damaged. This simple practice not only extends the lifespan of your mat but also ensures that you maintain a reliable and accurate cutting surface for all your projects. Make it a habit to rotate your mat periodically, especially if you use it frequently. This proactive step will save you money and frustration, keeping your crafting or sewing tasks efficient and precise.
Avoiding Overuse
To maintain the longevity and efficiency of your crafting mats, it is crucial to avoid overuse. Use the correct mat for each project to ensure optimal performance and prevent premature wear. For instance, a standard grip mat is ideal for medium-weight materials, while a light grip mat suits delicate papers. Investing in multiple mats is a smart move if you frequently work with various materials, as it helps distribute the wear and tear evenly. This approach not only extends the lifespan of your mats but also enhances the quality of your crafting projects, ensuring precision and better results every time.
Conclusion
Mastering the use of a Cricut cutting mat enhances your crafting precision and efficiency. By following these steps, you can ensure your mat remains in excellent condition, providing you with consistent, high-quality results. Happy crafting!
This guide is designed to help visitors effectively use their Cricut cutting mats, ensuring a smooth and enjoyable crafting experience. With these tips, you can improve your projects and maintain your tools for longer-lasting performance.