Working in a laboratory often involves the use of glassware such as beakers, flasks, pipettes, and test tubes. Keeping this glassware clean is not only crucial for maintaining the integrity of your experiments but also for ensuring safety and accuracy in the lab. Here’s a comprehensive guide on how to clean laboratory glassware effectively.
Understanding the Importance of Clean Glassware
Maintaining clean glassware in any setting, whether it be a laboratory, restaurant, or your own kitchen, is not just about aesthetics; it is crucial for ensuring safety, precision, and optimal performance.
In laboratories, clean glassware is essential because even minute contaminants can skew experimental results, leading to inaccuracies in research outcomes. Similarly, in culinary environments, the cleanliness of glassware affects both the taste of the beverage and the overall customer experience. Transparent, spotless glassware not only presents a visually appealing image, but it also conveys a message of meticulousness and high standards.
Regular and thorough cleaning prevents the buildup of bacteria and other harmful microbes, ensuring that glassware is not only sparkling but also hygienic. Therefore, understanding and implementing effective glassware cleaning techniques is indispensable for anyone aiming to maintain the highest standards of cleanliness and functionality in their glassware.
Basic Steps for Cleaning Lab Glassware
Cleaning lab glassware is essential for conducting accurate experiments and maintaining a safe laboratory environment. Here are some basic steps to ensure that your lab glassware is cleaned properly:
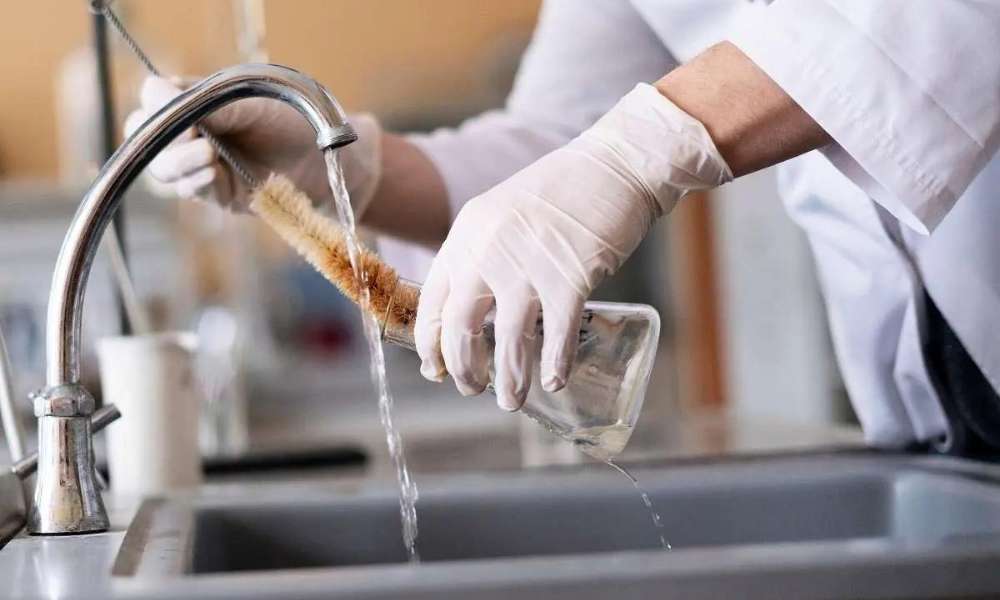
- Pre-rinsing
Begin by rinsing the glassware with the appropriate solvent. If the residue is water-soluble, use distilled water. For organic compounds, a solvent like acetone might be more effective. This initial rinse helps remove most of the residue.
2. Detergent Washing
Use a mild, non-abrasive detergent specifically designed for lab glassware. Apply the detergent with a soft brush or sponge. Do not use regular kitchen sponges as they can be too abrasive and may scratch the glass. Carefully clean all surfaces of the glassware, including hard-to-reach areas such as the bottom of flasks and the insides of narrow tubes.
3. Thorough Rinsing
After scrubbing, rinse the glassware thoroughly with distilled water. It’s crucial to remove all traces of detergent, as residuals can interfere with chemical reactions. Rinse at least three times to ensure complete removal.
4. Drying
Air drying is generally the best method for drying lab glassware. Place the glassware inverted on a drying rack to allow all water to drain and air to circulate. Avoid using towels or other materials that could introduce lint or debris.
5. Inspect and Store
Once dry, inspect each piece of glassware for cleanliness and integrity. Store them in a clean, dust-free environment to keep them ready for their next use.
By following these basic steps, you can ensure that your lab glassware is clean and ready for any scientific work, thereby upholding the integrity and accuracy of your lab results.
6. Special Cleaning Methods
-For oily or greasy residue : Use a mixture of hot water and a strong detergent or an organic solvent to break down oils.
For stubborn residue : Soak the glassware in a warm detergent solution for several hours or overnight, then scrub and rinse as usual.
For highly precise cleaning: Use acids or specialized cleaning agents like chromic acid (though use this with caution due to its hazardous nature), followed by thorough rinsing with distilled water.
Safety Tips
How to Clean Laboratory Glassware
When working with chemicals and cleaning glassware in a laboratory setting, safety should always be your top priority.
One fundamental way to ensure your protection is by wearing the appropriate personal protective equipment (PPE).
This includes gloves, goggles, and a lab coat. Gloves safeguard your hands from harsh chemicals and potential cuts from broken glass. Goggles are essential to protect your eyes from dangerous splashes that could occur during the cleaning process. Additionally, wearing a lab coat helps shield your skin and clothing from chemical spills and splatters. It’s crucial to select PPE that fits properly and is suitable for the type of chemicals you are handling.
Always inspect your equipment for any damage or wear before use, and replace it if necessary. Following these precautions not only helps prevent accidents but also fosters a culture of safety within the laboratory.
Storing Clean Glassware
Once dry, store the glassware in a clean, dry, and dust-free environment. Covered cabinets or designated storage areas are ideal to prevent any contamination before use.
When it comes to storing clean glassware, ensuring that each piece remains in pristine condition is paramount, not just for aesthetic reasons but also for hygiene and functionality.
The first step is to ensure that your glassware is thoroughly cleaned and completely dry before storage; any residual moisture can lead to water spots or, worse, mold growth. Choose a storage area that is free of dust and away from heavy traffic to avoid accidental breakages.
Cabinets with glass doors are ideal as they reduce dust accumulation while allowing visibility. If space allows, storing glassware upside down on a stable, non-abrasive surface can prevent dust from settling inside the glasses. For added protection, consider using shelf liners or rubber mats to cushion the glassware.
For those with limited kitchen space, hanging racks can be a great alternative, offering both functionality and an aesthetic display of your sparkling glassware. Regardless of the method, the key is to keep the glassware clean, secure, and ready for your next gathering or personal use.
Conclusion
Regular and thorough cleaning of laboratory glassware is a key part of laboratory protocol. It not only ensures the accuracy and reliability of your experiments but also extends the life of the glassware. By following these steps, you can maintain a high standard of cleanliness and functionality in your lab equipment. Remember, taking care of your tools is taking care of your science.