How to Clean a Self-Healing Cutting Mat Whether you are a crafter, quilter, or hobbyist, your cutting mat is a key device that needs everyday care to maintain turning in specific cuts. In this publication, we’ll guide you through the way to smooth a self-recovery slicing Madur properly, ensuring it remains in pinnacle circumstance on your initiatives. From surface debris removal to deep cleansing strategies, you’ll analyze simple but effective strategies to increase the life of your Madur, prevent harm, and keep your painting’s vicinity tidy. Let’s dive into how you may provide your mat the care it merits!
Understanding Self-Healing Cutting Mats
A self-healing placemat is designed with a unique surface that “heals” itself after being cut. This doesn’t mean that the Madur magically restores itself to a perfect state, but rather that the fibers within the Madur close up after a blade passes through, preventing deep grooves from forming. These mats are normally crafted from more than one layer of PVC, offering sturdiness and versatility. This function makes them famous among crafters and hobbyists who require a resilient reducing surface.
However, this self-healing ability can become compromised if dirt, debris, or residue builds up over time. Without proper cleaning, your placemat may lose its efficiency, causing imprecise cuts and potential damage to your tools.
Common Problems with Dirty Cutting Mats and How They Affect Your Work
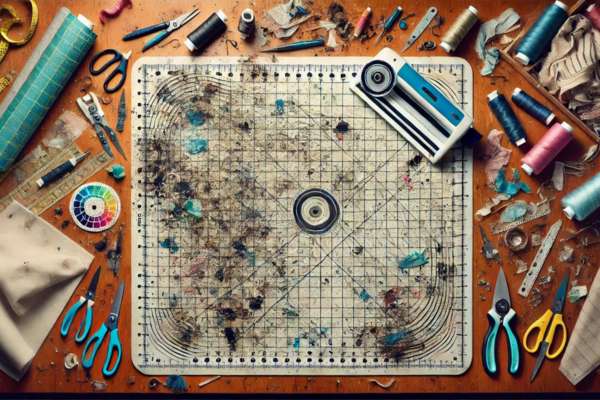
When a placemat becomes dirty, several issues can arise. First and foremost, debris such as lint, fabric fibers, or paper fragments can clog the surface, preventing the Madur from effectively “healing” itself. This leads to permanent scars on the surface, which could disrupt your paintings. A worn-out or damaged mat may also cause your blades to dull more quickly, as they snag on rough patches or grooves. Furthermore, ink or paint stains on the Madur can transfer onto materials you’re cutting, ruining your projects.
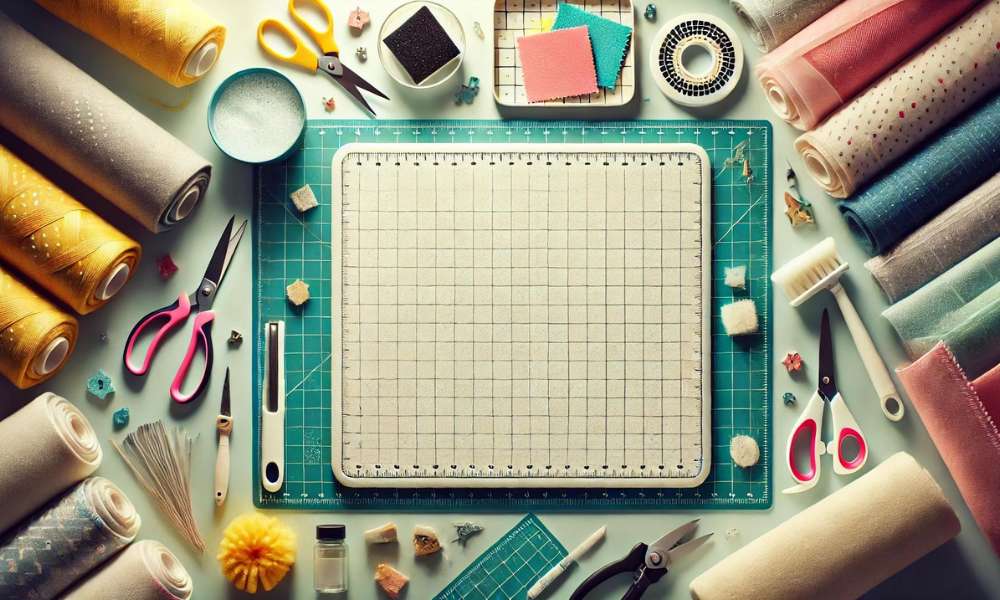
Tools You’ll Need to Clean a Self-Healing Cutting Mat
Cleaning your self-healing placemat doesn’t require any fancy tools. Most of the items you’ll need are likely already in your home. Here’s a list:
- A soft sponge or microfiber cloth
- Warm, soapy water
- White vinegar (for tough stains)
- Plastic scraper or old credit card
- Mild detergent
- Soft bristle brush
- Towel for drying
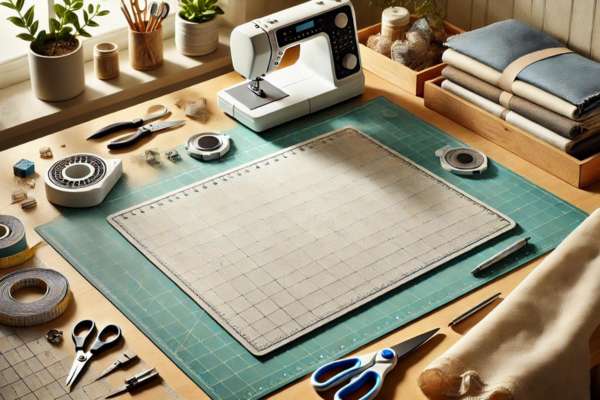
Preparing Your Cutting Mat for Cleaning: Step-by-Step Guide
Before diving into the actual cleaning process, it’s essential to prepare your Madur:
- Lay the mat flat on a clean, solid surface.
- Remove any large debris by gently shaking or brushing off loose material.
- Fill a sink or basin with warm, soapy water.
- Submerge the mat, making sure it’s fully covered by water.
Preparation ensures that you won’t accidentally push dirt deeper into the surface while cleaning.
How to Remove Surface Debris from Your Cutting Mat Without Damaging It
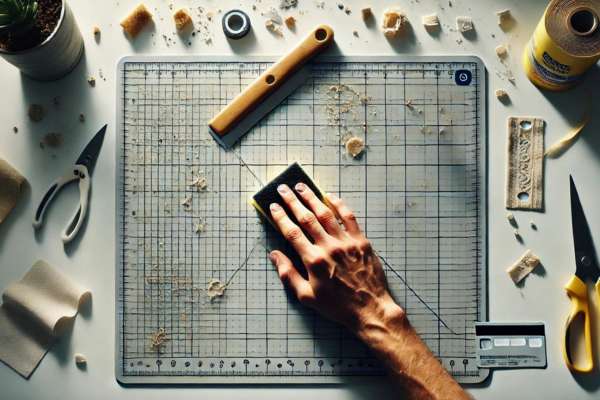
For surface-level cleaning, you’ll want to avoid anything abrasive. Using a soft sponge or microfiber cloth, gently wipe the surface of the Madur to remove dust, paper bits, or fibers. If the debris is stubborn, a plastic scraper or an old credit card can be used to dislodge it without causing harm to the mat’s surface. Be mindful of the pressure you apply, as excessive force can lead to damage.
Deep Cleaning Your Self Healing Cutting Mat: Methods for Tough Stains and Residue
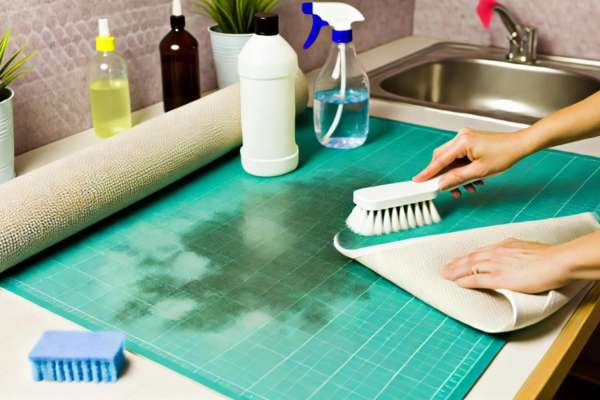
If your mat has accumulated stains from inks, paints, or other materials, deep cleaning is necessary. Create a mixture of warm water and white vinegar (about a 50/50 ratio) and use a soft brush to scrub the stained areas. For particularly tough stains, you may need to let the mixture sit on the Madur for a few minutes before scrubbing.
Be patient—while the mat is designed to be durable, harsh scrubbing could lead to wear and tear.
How Often Should You Clean Your Self-Healing Cutting Mat?
How often you clean your Madur depends on how frequently you use it. For regular users, a monthly cleaning session should suffice. However, if you’re using it heavily with materials that leave residue (like fabrics with lots of lint or paints), you may need to clean it more frequently. Regular cleaning prevents the buildup of debris and ensures the Madur continues to “self-heal” properly.
Using Warm Soapy Water: A Beginner-Friendly Cleaning Method
For most cutting mats, the simplest and safest cleaning method involves warm, soapy water. Add a few drops of mild detergent to a basin of warm water and gently scrub the mat using a soft sponge. This method works nicely for preferred cleaning and mild stains, and it’s gentle and sufficient to use often without harming the Madur.
Why You Should Avoid Harsh Chemicals on Your Cutting Mat
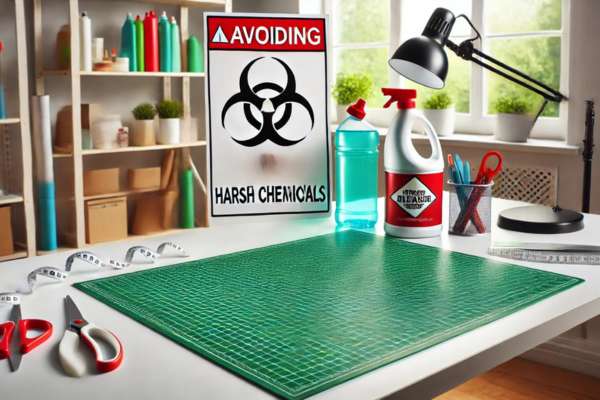
It’s important to avoid harsh chemicals like bleach, acetone, or ammonia when cleaning your self-healing placemat These materials can degrade the PVC cloth, leading to warping or discoloration. Over time, this harm can compromise the Madur’s self-recuperation abilities, lowering its lifespan.
How to Remove Stubborn Ink Stains from Your Self-Healing Cutting Mat
Ink stains can be particularly challenging to remove. A mixture of rubbing alcohol and water can help lift ink stains without damaging the Madur. Apply the solution to a soft cloth and gently dab the stained area. Avoid using too much liquid, as this can cause the Madur to warp.
Caring for Your Placemat After Cleaning: Proper Drying Techniques
After cleaning, it’s crucial to dry your placemat properly. Avoid hanging it vertically, as this can cause the mat to bend or warp. Instead, lay it flat on a towel and gently blot it with another towel to absorb excess moisture. Allow it to air dry completely before using it again.
How to Keep Your Cutting Mat Flat and Prevent Warping After Cleaning
Warping is a common issue with placemats, especially if they’re not stored properly. To prevent this, always store your Madur flat in a cool, dry place. If the Madur begins to warp, you can try placing a heavy object (like a stack of books) on top of it for a few days to flatten it out again.
Storing Your Cutting Mat Properly to Avoid Dirt and Dust Build-Up
Proper storage is key to extending the life of your placemat. Avoid rolling it up or placing it in direct sunlight, as heat can cause the Madur to warp. Instead, store it flat, in a drawer, or on a shelf, and cover it with a cloth to protect it from dust.
What to Do if Your Cutting Mat Isn’t Healing Properly After Cleaning
If you notice that your mat isn’t healing as well after cleaning, it could be due to excessive buildup or damage. In some cases, additional cleaning with a vinegar solution can help. However, if the surface has become too damaged, it may be time to replace the Madur.
The Benefits of Regularly Cleaning Your Cutting Mat for Long-Term Durability
Regular cleaning ensures your placemat remains functional and extends its lifespan. By keeping a clean floor, you’ll enjoy smoother cuts, much less blade put on, and a Madur that heals greater efficaciously. A properly-cared-for slicing Madur is a small funding that pays off in better mission outcomes and an extended-lasting device.
Conclusion
A smooth self-healing slicing mat not only complements your crafting revel but also prolongs the existence of the mat. By following those simple cleaning and care steps, you may ensure that your mat maintains to serve you properly for future years. Regular maintenance, mild cleansing methods, and the right storage are all you want to hold your reducing Madur in pristine circumstances.