how to make cutting mat sticky again- Cutting mats are essential tools for crafters and hobbyists, providing a durable surface for precise cutting. Over time, these mats can lose their stickiness, making it difficult to keep materials in place. In this guide, we’ll show you how to restore the stickiness of your cutting mat, extending its life and ensuring optimal performance.
Understanding Cutting Mat Materials
Cutting mats are essential tools for crafters and professionals alike, typically made from PVC or self-healing materials. PVC mats are durable and affordable while self-healing placemats offer longevity and superior surface quality by automatically closing small cuts. Understanding the type of cutting placemat you have is crucial for maintaining its functionality. For PVC mats, regular cleaning with mild soap and water can restore stickiness. Self-healing mats, however, benefit from occasional scrubbing with a soft brush and gentle detergent. Proper maintenance ensures a long-lasting, efficient workspace, making your crafting or professional projects more enjoyable and precise.
Why Cutting Mats Lose Stickiness
how to make cutting mat sticky again- Cutting mats often lose their stickiness due to repeated use and the accumulation of dust and debris. Over time, these factors reduce the adhesive properties of the placemat, making it less effective for securing materials. To prolong the stickiness of your cutting placemat, regular maintenance is essential. Clean the mat gently after each use to remove dust and residue. Using a mild soap and water solution can help restore some of the adhesive qualities. Additionally, storing the mat properly when not in use can prevent unnecessary exposure to dirt and dust, thereby extending its lifespan and effectiveness.
Cleaning the Mat
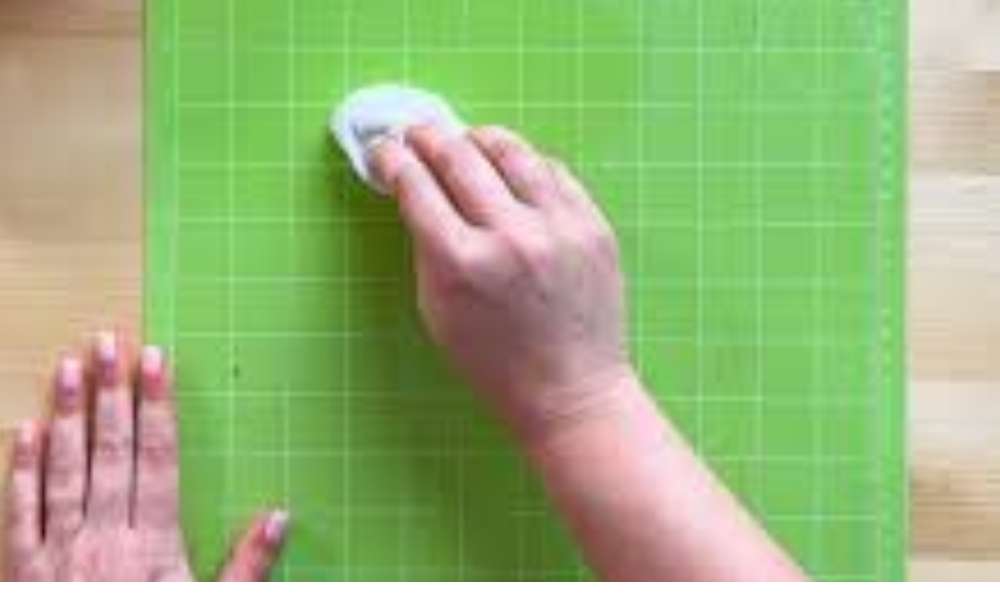
how to make cutting mat sticky again- Start by thoroughly cleaning your cutting mat for optimal performance and longevity. Begin with a soft cloth or sponge soaked in warm, soapy water to gently wipe away any dirt and residue. Be sure to rinse the cloth frequently to avoid spreading grime. Avoid using harsh chemicals, as they can damage the mat’s surface and reduce its lifespan. Instead, stick to mild detergents and natural cleaners. After washing, dry the mat with a clean towel and let it air dry completely before use. Regular cleaning not only maintains the mat’s quality but also ensures precise cuts and a smooth crafting experience.
Rinsing and Drying
After cleaning, thoroughly rinse the mat with clean water to eliminate any soap residue. Ensure all the soap is washed away to prevent any slippery surfaces. Once rinsed, allow the placemat to air dry completely. Air drying ensures that no moisture is trapped, which can prevent mold and mildew growth. Make sure the placemat is completely dry before proceeding to the next step. This not only extends the mat’s lifespan but also ensures a hygienic and safe environment for its next use. Proper rinsing and drying are crucial for maintaining the mat’s quality and effectiveness.
Using a Scraper Tool
Using a scraper tool is an effective way to remove adhesive residue or debris from surfaces. Start by selecting a plastic scraper to avoid damaging the surface of the mat. Gently apply pressure and scrape off any remaining adhesive, moving the tool in a steady, consistent manner. Ensure you work slowly and carefully to prevent scratching or gouging the material. Regularly clean the scraper to maintain its effectiveness. This method not only keeps your surfaces clean but also extends the life of your mats, ensuring they remain functional and aesthetically pleasing. For optimal results, follow up with a mild cleaning solution.
Applying a New Adhesive Layer
Applying a new adhesive layer to your cutting mat is simple and effective. Start by purchasing a repositionable adhesive spray specifically designed for cutting mats. Ensure the mat is clean and dry before application. Hold the spray can approximately 6-8 inches from the mat and apply a light, even coat over the entire surface, as per the manufacturer’s instructions. Allow the adhesive to dry completely before using the placemat again. This method revives your mat’s grip, ensuring precise cuts and extending its lifespan. By maintaining your placemat, you save money and improve crafting accuracy.
Letting the Adhesive Set
how to make cutting mat sticky again- To achieve a strong and lasting bond, it is essential to allow the adhesive to set for the recommended time. This crucial step ensures the adhesive properly bonds to the mat, preventing future issues like peeling or separation. Follow the manufacturer’s instructions closely, as the setting time can vary depending on the adhesive type. Rushing this process can compromise the integrity of your project, leading to potential repairs and increased costs. Patience during this stage will result in a durable and reliable adhesion, ensuring your mat remains securely in place for an extended period.
Testing the Stickiness
Once the adhesive has fully set, it’s time to test its stickiness. Place a piece of paper or fabric on the mat. The material should adhere securely without any sliding or slipping. If the paper or fabric holds firmly, the adhesive is ready for use. This step ensures that the adhesive is strong enough to keep items in place during regular use. Testing the stickiness is crucial for confirming the adhesive’s effectiveness and reliability. By ensuring a firm grip, you can be confident that the adhesive will perform well in practical applications, enhancing your project’s success.
Maintaining Your Cutting Mat
Maintaining your cutting mat is essential for ensuring its longevity and optimal performance. Regular cleaning helps remove debris and residue that can accumulate over time. To clean, simply use a gentle soap and water solution, then let it air dry completely. Reapplying adhesive when necessary keeps the placemat surface tacky, enhancing its functionality for cutting projects. Additionally, store your cutting mat flat and away from direct sunlight to prevent warping and damage. By following these simple maintenance steps, you can significantly extend the life of your cutting placemat, making it a reliable tool for all your crafting needs.
Avoiding Common Mistakes
Avoid common mistakes to ensure your mat stays in top condition. First, resist the urge to use too much adhesive, as excessive amounts can make the mat overly sticky and difficult to handle. Instead, apply a thin, even layer for the best results. Additionally, avoid using permanent adhesives. These can cause lasting damage to your placemat, making it unusable. Opt for removable or repositionable adhesives to maintain your placemat functionality and longevity. By following these simple tips, you can keep your mat in great shape and extend its lifespan, ensuring it serves you well for years to come.
Storing Your Cutting Mat
Storing your cutting mat correctly is crucial for its longevity and performance. Keep your cutting mat flat to avoid warping, which can occur if it’s stored on its edge. Avoid exposing it to direct sunlight, as UV rays can damage the mat and reduce its stickiness. By maintaining a flat and cool storage environment, you ensure that your placemat remains in optimal condition for extended use. This simple storage practice not only preserves the mat’s quality but also enhances your crafting efficiency. Proper care will keep your cutting mat ready for precise and reliable cuts every time.
Alternatives to Adhesive Sprays
For those seeking alternatives to adhesive sprays, double-sided adhesive sheets offer an excellent option. These versatile sheets can be easily cut to the desired size and applied to various surfaces, providing a strong and reliable bond without the mess or fumes of sprays. Ideal for crafting, home decor projects, and more, they ensure your materials stay securely in place. Additionally, double-sided adhesive sheets are often easier to reposition, allowing for adjustments without compromising the adhesive’s effectiveness. This user-friendly solution is perfect for anyone looking to avoid the hassle and potential health concerns associated with traditional adhesive sprays.
Using Household Items
how to make the cutting mat sticky again- In a pinch, household items like repositionable glue sticks or rubber cement can restore stickiness effectively. Simply apply a thin, even layer of the glue to the surface needing adhesion. Allow it to dry completely before using. This quick fix can be especially useful for crafts, sealing envelopes, or small repairs around the house. Utilizing these readily available products saves time and money, ensuring you always have a solution at hand. With this simple trick, you can maintain functionality without needing specialized adhesives, keeping your projects and repairs on track.
Replacing Your Cutting Mat
If your cutting mat shows significant wear or damage, it’s time to replace it. A new cutting mat ensures precise cuts and protects your tools. Regular maintenance can extend a mat’s lifespan, but heavy use and deep cuts eventually take their toll. Replacing your placemat enhances your crafting experience by providing a smooth surface for accurate cutting. New placemats also prevent damage to your blades, saving you money in the long run. Upgrade to a fresh cutting mat to maintain the quality of your work and enjoy seamless crafting. Investing in a new placemat is a small step for better results and prolonged tool life.
Conclusion
Restoring the stickiness of your cutting mat is a simple process that can extend its usability and improve your crafting experience. By following these steps, you can keep your cutting mat in top condition and enjoy precise, hassle-free cutting for years to come.
By optimizing your cutting mat’s stickiness, you ensure a smoother crafting process and enhance your project’s overall quality. This guide will help you maintain your tools effectively, keeping your cutting mat as good as new.