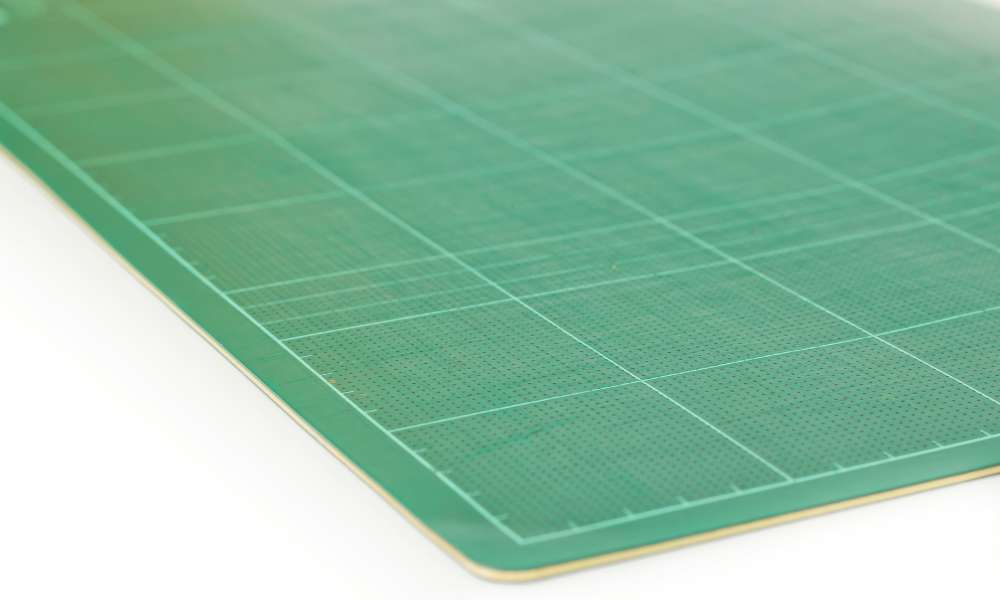
Cutting mats are essential tools for crafters, quilters, and hobbyists. However, they can warp over time, making precise cutting challenging. This guide will help you flatten your cutting mat efficiently, ensuring it remains a reliable surface for your projects.
Understanding Why Cutting Mats Warp
Cutting mats can warp due to a variety of reasons, impacting their effectiveness and longevity. One common cause is improper storage, such as stacking heavy objects on them or storing them in a curved position. Exposure to heat, whether from sunlight or nearby appliances, can also lead to warping. Extended use without proper maintenance can further exacerbate the issue. To prevent cutting mats from warping, store them flat in a cool, dry place, away from direct heat sources. Regularly clean and rotate your placemat to ensure even wear. By understanding these factors, you can maintain your cutting placemat quality and functionality.
Assessing the Damage
Before starting the flattening process, it’s crucial to assess the damage. Begin by laying the mat on a flat surface to evaluate the extent of the warping. This step helps you determine the severity of the bends or waves, guiding you on the best approach to take. Identifying the damage accurately ensures you apply the right methods to restore the placemat effectively. A thorough assessment also prevents further damage, preserving the mat’s quality and extending its lifespan. By carefully evaluating the warping, you can ensure a smooth and successful flattening process, ultimately maintaining the placemat’s functionality and appearance.
Using Heat to Flatten the Mat
Flattening a cutting mat with heat is an efficient method. Start by placing a towel over the warped area. Then, set an iron to a low heat setting. Gently apply the iron to the towel, moving it in circular motions. This prevents overheating and evenly distributes the heat. Continue this process until the mat flattens. Allow the mat to cool before use to ensure it retains its shape. Using this simple technique, you can quickly restore your cutting mat to its original condition, ensuring precise and accurate cuts for all your projects.
Applying Weight for Even Pressure
Applying weight for even pressure is essential for achieving a flat and smooth surface. After heating, promptly place heavy objects, such as books or weights, on the mat. This ensures that the mat cools and flattens evenly, avoiding any wrinkles or bubbles. Leave the weights on the mat for several hours or overnight for the best results. This method guarantees an even pressure distribution, leading to a flawless, level surface. By following this straightforward technique, you can maintain the quality and longevity of your placemat, enhancing its usability and appearance.
Utilizing Hot Water
To effectively utilize hot water for restoring your mat, start by filling a bathtub with hot water. Ensure the water is hot but not boiling. Submerge the mat and let it soak for 10-15 minutes. This process helps to loosen and relax the material. After soaking, carefully remove the placemat and shake off any excess water. Lay the mat flat on a clean surface and place weights evenly on top. This method helps to flatten the mat and remove any creases or curls, ensuring it looks and performs as good as new.
Using a Hair Dryer for Localized Warping
Using a hair dryer for small, localized warping is an effective method to restore the original shape. First, heat the warped area until it becomes pliable. Be sure to move the hair dryer evenly over the surface to avoid overheating. Once the material is flexible, place weights on it while it cools. This process helps flatten the area and ensures it retains the corrected shape. Regularly check the progress and adjust as needed. This simple technique is ideal for minor warping issues and helps maintain the integrity of the material, ensuring a smooth, flat surface.
Storing Your Cutting Mat Correctly
Storing your cutting mat correctly is crucial for its longevity and effectiveness. To prevent future warping, always store your cutting mat flat, keeping it away from direct sunlight and heat sources. Never roll or bend the mat, as this can cause permanent damage and reduce its usability. A flat storage position ensures the placemat maintains its shape and functionality, providing a reliable surface for all your cutting needs. By following these simple guidelines, you can extend the life of your cutting mat, ensuring it remains a valuable tool in your crafting and sewing projects.
Regular Maintenance Tips
Regular maintenance is essential for extending the life of your cutting mat. After each use, clean the mat thoroughly with a soft brush and mild soap to remove debris and adhesive residue. This prevents buildup that can affect the placemat performance. Additionally, store your cutting mat flat and avoid exposure to extreme temperatures to maintain its shape and flexibility. Regular inspections for cuts or damage can help you address issues promptly, ensuring your cutting placemat remains in top condition. Consistent care not only enhances your mat’s durability but also ensures precision in your projects, making it a valuable tool for all your crafting needs.
Alternative Flattening Methods
For those looking for alternative methods to flatten their mats, consider using a weighted roller. Simply roll the roller gently over the mat to help smooth out any wrinkles or bumps. Another effective approach is to place the placemat in the sun for a few minutes. The heat from the sun can make the mat more pliable, allowing you to then apply weights to it for a better flattening effect. These methods are simple yet effective, ensuring your mat lays perfectly flat and enhances its usability and appearance.
Preventing Warping During Use
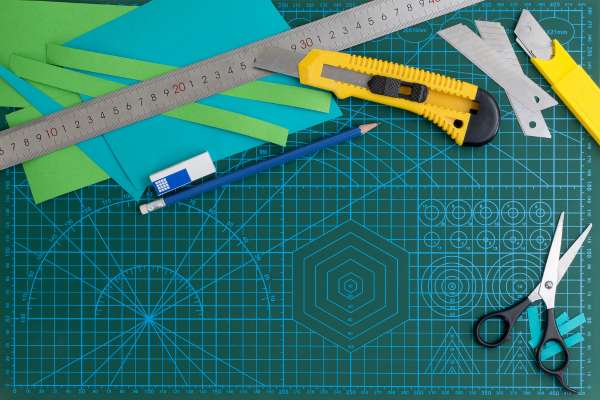
Preventing warping during use is crucial for maintaining the integrity and longevity of your cutting mat. Always use a sharp blade to minimize the pressure exerted on the mat. Avoid cutting in the same spot repeatedly, as this can lead to uneven wear and eventual warping. Additionally, rotate your mat regularly to ensure that wear is distributed evenly across the surface. By following these simple steps, you can extend the life of your placemat and ensure it remains in top condition for all your projects. Remember, proper maintenance is key to preventing warping and achieving the best results.
When to Replace Your Cutting Mat
If your cutting mat remains warped despite your efforts, it might be time to replace it. A heavily warped mat can affect the accuracy of your cuts, leading to mistakes in your projects. Replacing your mat ensures precision and safety during use. Over time, mats can accumulate deep cuts and wear, further reducing their effectiveness. Look for signs such as an uneven surface, reduced self-healing ability, and visible grooves. Regularly replacing your cutting mat can enhance your crafting experience, ensuring each cut is clean and accurate. Keep your projects on track with a new, reliable cutting mat.
Choosing a High-Quality Cutting Mat
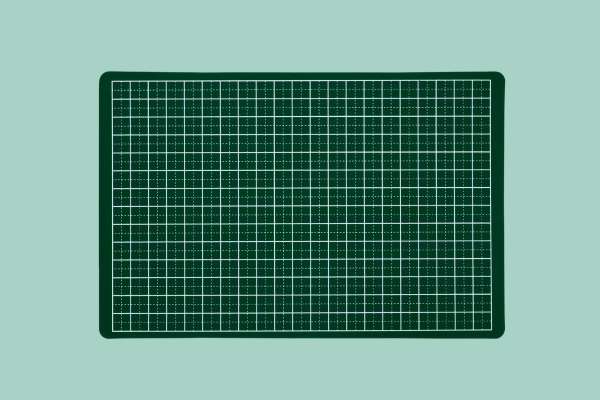
Choosing a high-quality cutting mat is essential for precision and longevity in your crafting projects. Opt for self-healing mats made from durable materials to ensure a smooth, reliable surface that withstands repeated use. High-quality mats resist warping and provide a consistent cutting experience, protecting your blades and work surface. Additionally, these mats often feature clear grid lines and measurements, enhancing accuracy and ease of use. Investing in a top-notch cutting mat not only improves your work quality but also extends the life of your tools, making it a smart choice for hobbyists and professionals alike.
Conclusion
cutting mats are indispensable tools for crafters, quilters, and hobbyists, but they can warp over time, compromising their effectiveness. By understanding the causes of warping and implementing proper storage, maintenance, and flattening techniques, you can extend the life of your cutting mat. Regularly assessing the damage, applying heat, using weight, or hot water, and correctly storing the mat are crucial steps to maintain its quality. Remember to periodically inspect your mat for signs of wear and replace it when necessary to ensure precision and safety in your projects. Proper care guarantees a reliable surface, enhancing your crafting experience.